Sculpt Your Face: Makeup Tips for a Defined & Slimmer Look
Unlock Your Radiance: Makeup Techniques for a Sculpted Look

Achieving a naturally radiant complexion is the first step to any beautiful makeup look. Before diving into contouring, make sure to prep your skin. Start by moisturizing your face with a product suited to your skin type. If you have enlarged pores, a primer can be your best friend – it helps minimize their appearance and creates a smoother canvas.
Once your moisturizer has absorbed, it’s time for foundation. Use a dedicated foundation brush or a makeup sponge for application. For a seamless, natural finish, begin applying in the center of your face and blend outwards. Don’t forget to extend the product down to your neck and ears to avoid harsh lines. Smooth transitions are key!
To give your face a more defined appearance, selecting the right foundation color is just as crucial as its application. Avoid shades that are too light or too dark. A foundation that’s too dark can emphasize roundness, while one that’s too light can make you look pale. Always test shades on your neck; apply a small amount, let it dry, then check if it seamlessly matches your skin tone.
Sculpt Your Face in 3 Simple Steps
Once your face is moisturized and foundation is applied, you can use contouring to define your features, especially if you have a rounder face. This makeup technique helps your cheekbones and facial contours appear more sculpted, giving the illusion of a slimmer face. It’s all about a clever play of light and shadow: using lighter colors to highlight certain areas and darker shades to subtly recede others. The correct placement of blush, contour, and highlighter is vital, and you can achieve it in three easy steps.
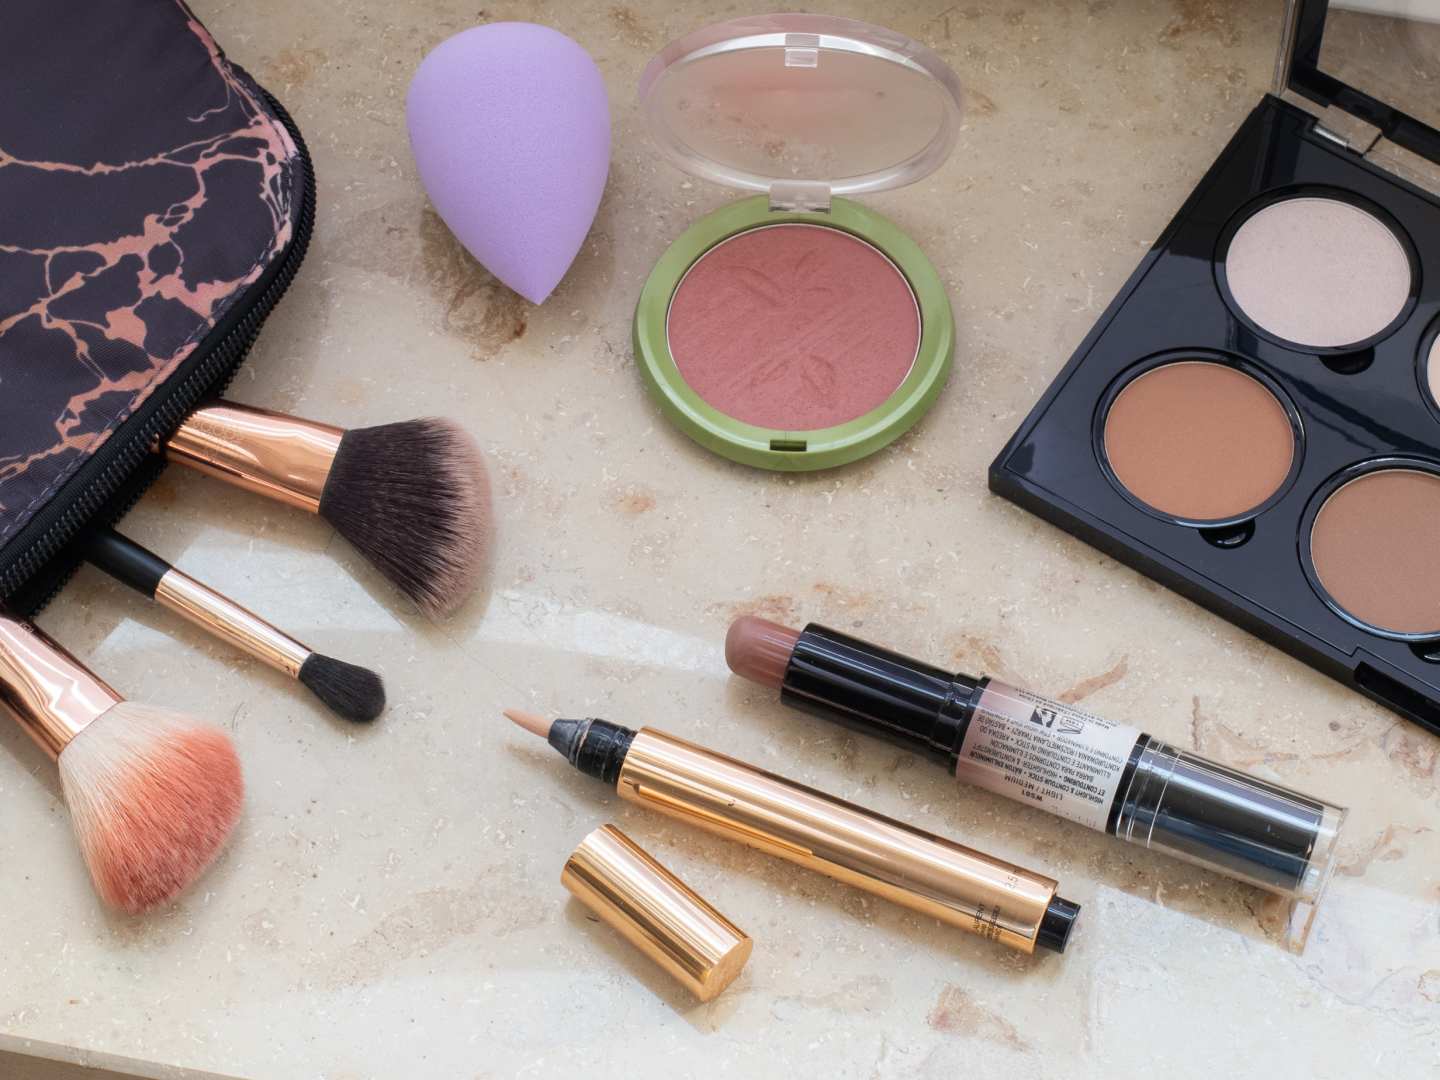
Here’s what you’ll need:
- Contouring product of your choice (powder or stick/pencil)
- Contouring brush
- Blush
- Blush brush
- Highlighter
- (Optional) Makeup sponge
The consistency of your products matters for the perfect finish. If your skin tends to be oily, powder products are a better choice as they’ll mattify the skin and absorb excess sebum. For dry skin, opt for creamy consistencies with nourishing ingredients to prevent drying.
Step 1: Master the Art of Contouring
Contouring adds depth to your face by emphasizing your cheekbones. All you need is a contouring product, whether it’s a contour pencil or powder. When selecting your shade, aim for one that’s 2 to 3 shades darker than your natural skin tone for the most natural result.
Crucially, your contour product should not contain shimmer. Too much shimmer will highlight your face’s curves rather than subtly sculpting them. If you’re using powdery contour products, ensure your foundation is set with a transparent powder beforehand to prevent patchy results. For creamy products like a contour stick, you can skip this powdering step.
To achieve that perfect interplay of light and shadow:
- Start by applying the contour product where your hairline meets the upper end of your ear.
- Work your way down below the cheekbones, roughly up to the level of your eyes. Extending it too far towards your mouth can look unnatural. Use a special, often angled, contouring brush for precise application and blending.
Next, use the same brush to shade your temples. Even a slight double chin can be optically minimized with the right contouring technique. The most natural way to achieve this is by applying and blending the product in circular movements along the jawline (from the ears towards the middle of the chin).
Finally, it’s the nose’s turn. You can optically lengthen your nose, making your face appear slimmer.
- Apply your contouring product to the right and left sides of the nose with a thin, loosely tied brush, then blend.
- Finish by dabbing a little highlighter on the center of the bridge of your nose or by adding a light touch with a lighter concealer.
Step 2: Expert Blush Placement
 Blush can make your face glow, look fresher, and even appear longer. For round faces and features, it’s best not to apply blush directly to the “apples” of your cheeks. To find the ideal placement, use the “two-finger rule.” Place two fingers next to your nostrils, and then apply blush below your cheekbones, sweeping it back towards your eyebrows.
When choosing blush, opt for a matte finish. Products with too much shimmer reflect light, which can emphasize curves. The same applies to color choice: avoid overly light shades as these will highlight your cheeks more. Instead, go for darker colors like berry, plum, or peach shades.
Remember, blush, bronzers, and contouring products are often highly pigmented. For a natural finish, when picking up powder products, always tap off any excess from your brush. Apply with a light hand, repeating the application if needed to build intensity.
Step 3: Illuminate with Highlighter
To further sculpt your face, step 3 involves applying concealer and highlighter. Whether in powder or cream form, highlighters typically contain a high percentage of light-reflecting, shimmering particles that make the skin appear more luminous. Apply highlighter to areas of the face where light naturally hits. Focus on the center of your face.
- Take a little highlighter and gently apply it to the bridge of your nose, the inner corners of your eyes, and the highest point of your cheekbones. You can use your fingertips or a small brush.
For even more light reflection, apply a light concealer under the eyes, on the forehead, and on the chin. This will emphasize the central parts of your face and make the darker, contoured areas recede.
- Use concealer to create a triangle under the eyes.
- Apply a small dab on the forehead and chin.
- Then, blend with your fingers or a makeup sponge. Your face will appear brighter, slimmer, and more defined.
Completing Your Look: Eyes and Lips
To round off your makeup, don’t forget your eyes and lips. To make your face look even more defined:
- Apply a light eyeshadow to the movable lid.
- Then, shade the crease of your eyelid with a darker eyeshadow. This will make your eyes appear larger.

You can also bring your lips into focus by subtly emphasizing them. Avoid shades that are too dark and matte, as these can emphasize a round face. A light lipstick with a glossy effect or a lip gloss in a rose shade will complete your look and let you shine.
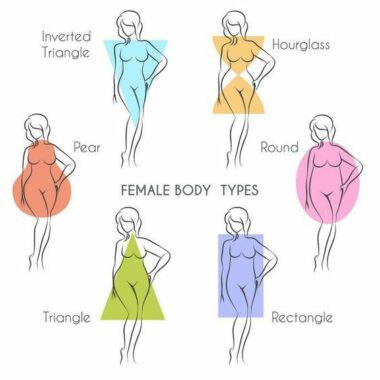
Wearing the right outfit also plays a major role in achieving a fresh, confident look. When you feel good in your body, that confidence radiates outwards. With the right cuts, you can quickly define your silhouette and show off your curves.
Conclusion: Master Contouring for Enhanced Natural Beauty
 You don’t have to be a makeup professional to give a round face a slimmer appearance. Any woman can sculpt and subtly enhance her facial features with the right makeup techniques. For a natural complexion, start by moisturizing your face and applying foundation. Contouring can then be used to enhance your cheekbones and define your facial features. The correct placement of blush, highlighter, and contouring product, which can be applied in three simple steps, is crucial for achieving this effect.